2-1: Lab Setup - VirtualBox
This is one of two options for setting up our lab. To use VirtualBox, we'll of course first need it installed. It can be downloaded for all platforms at https://virtualbox.org.
Note for Apple Silicon macOS users: VirtualBox is available, but you need to visit the TestBuilds page and download the ARM Beta for macOS. Fair warning though: it is extremely unstable. It would probably be best to use another host for your VMs, or continue with the Azure Option.
Install VirtualBox
The latest version is version 7.0. Make sure you're using that version, or some of these screenshots will look pretty weird.
Download Ubuntu ISO
We'll be using Ubuntu 22.04 LTS for our base server. Download the installation ISO from the Ubuntu Download Page.
Create the NAT Network
Because we'll be using more than one virtual machine, we need to create a new network in VirtualBox for both of them. Otherwise, VB will annoyingly assign both of them the same IP address!
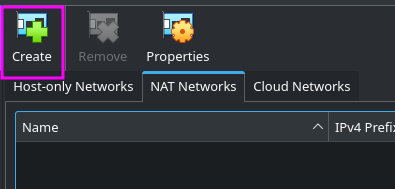
In the Tools menu, navigate to the Network section, and choose "Nat Networks." Click "Create."
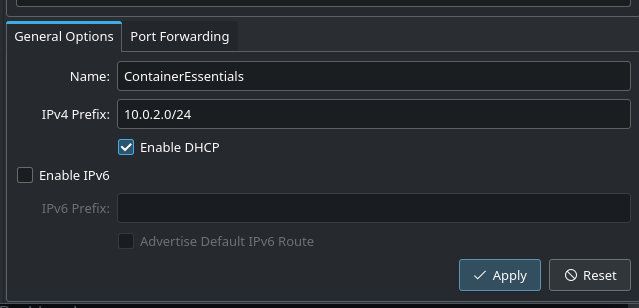
You can name the network however you like, but make sure that "Enable DHCP" is checked, and click "Apply."
Then return to the "Welcome" section in "Tools."
Create the Main Ubuntu VM
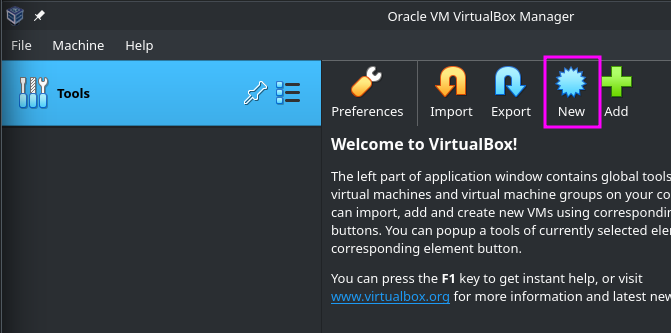
Let's make our main VM. Click "New."
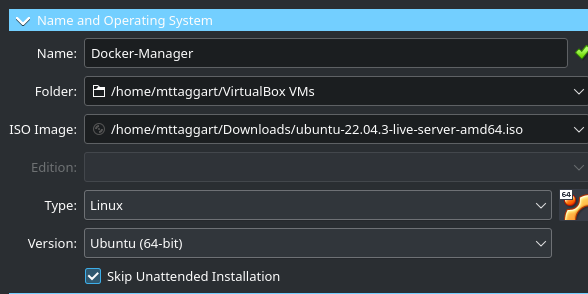
Let's name the new VM "Docker-Manager," for reasons that will become clear a bit later. But it's descriptive enough for now.
Select the Ubuntu ISO you just downloaded as the ISO Image. And skip the unattended installation. It's actually more trouble than it's worth.
For resources, 2 GB of RAM and 2 CPUs is sufficient. A 30 GB virtual hard disk will do for storage.
Now, before we power this on, we're going to add this VM to our NAT Network. Go to Settings -> Network for your new VM. Switch Adapter 1 to use the ContainerEssentials NAT Network we made earlier.

Now, power on the VM and walk through the installation steps. Defaults are fine everywhere, except that you do want to install the OpenSSH server. We'll need that for comfortable logging in!

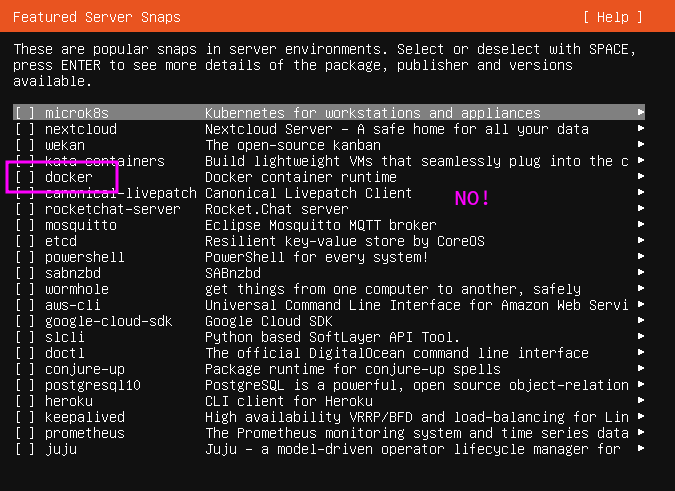
On the screen after the SSH option, you'll be presented with several packages to install, including Docker. Do not install Docker this way! This installs an old version of Docker, and we'll be installing it manually.
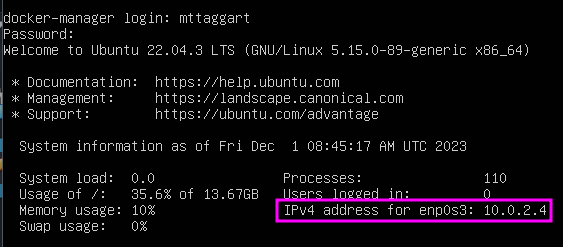
Complete the installation and reboot the server. Once logged in, take note of the IP address shown by Ubuntu.
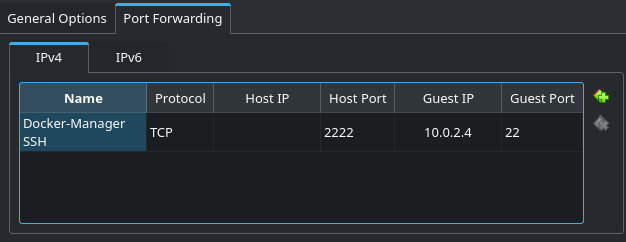
We're going to take that IP, and go back to our NAT Network config. In the "Port Forwarding" tab, we'll add an entry here for SSH, using port 2222 on our host, forwarding to port 22 on the IP address we just saw.
We're now set up to log into the server over SSH, which will be a much nicer experience than trying to use the VirtualBox console. In a new terminal/PowerShell window, run:
ssh -p 2222 user@localhost
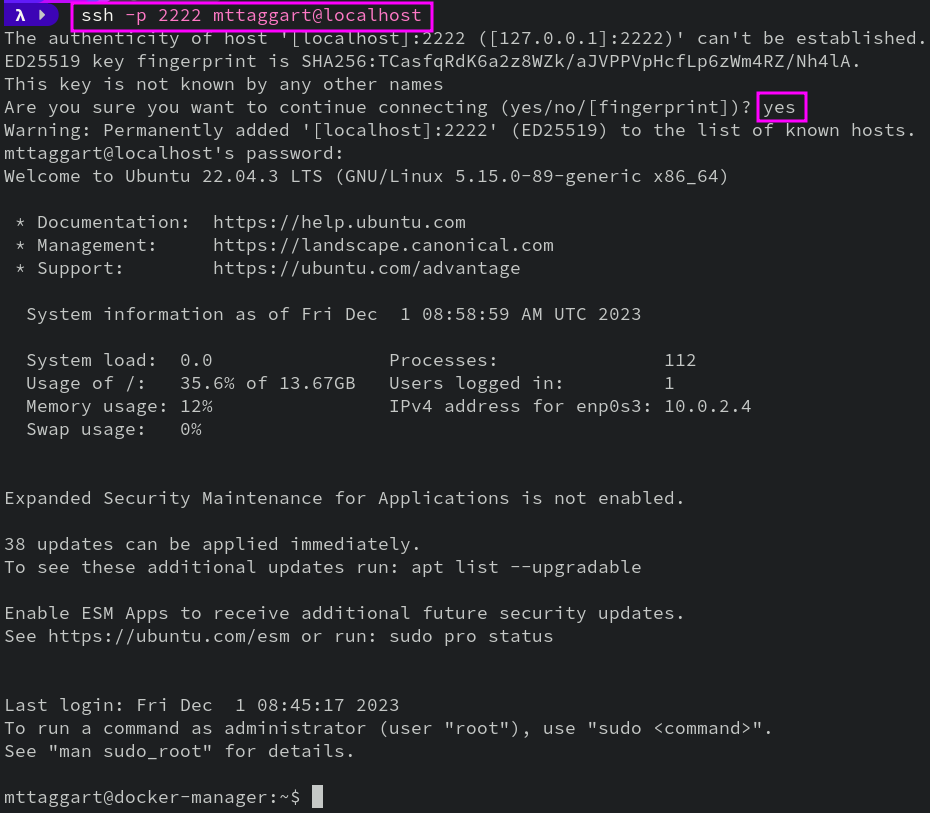
You should now be logged into your server.
Before departing the port forwarding dialog, add another rule to forward 8888 to port 80. This will be useful for testing web applications.
And that's it for our first VM setup!. In the next lesson, we'll install Docker and confirm it's working.
Create the Second VM
Now, repeat the VM creation process for our second Docker machine! The only differences:
- Call this one
Docker-Workerwith hostnamedocker-worker - No need for a port forwarding rule. You can make one, but it's just as easy to SSH into the worker machine from the manager. SSHception!
Don't forget to copy down the IP address of the new VM though, for future reference.
If you're comfortable with cloning VirtualBox VMs, make sure to do a full clone and not a linked clone. Yes, it takes more space, but in testing I found that linked clones kill the NAT Network DHCP for some reason.